Publish your image
Follow this walkthrough to learn how to publish and share your images on Docker Hub.
Before you start, get the latest version of Docker Desktop. Docker adds new features regularly and some parts of this guide may work only with the latest version of Docker Desktop.Step 1: Get the example image
To get the example image:
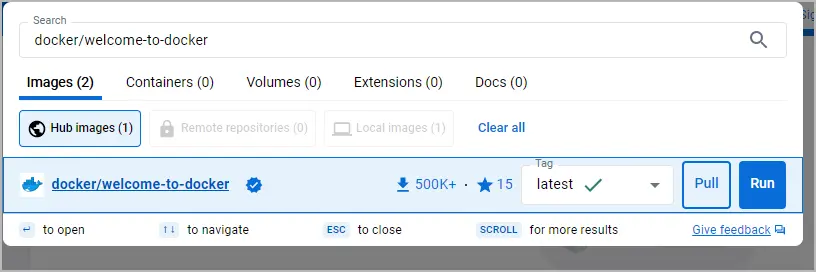
- In Docker Desktop, select the search bar.
- In the search bar, specify
docker/welcome-to-docker. - Select Pull to pull the image from Docker Hub to your computer.
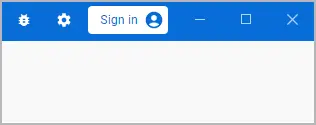
Step 2: Sign in to Docker
Select Sign in on the top-right of Docker Desktop to either sign in or create a new Docker account.
Step 3: Rename your image
Before you can publish your image, you need to rename it so that Docker Hub knows that the image is yours. In a terminal, run the following command to rename your image. Replace YOUR-USERNAME with your Docker ID.
Tip
To run Docker commands, you must use a terminal. Based on your operating system, you can open a terminal by doing the following:
For Windows, select the Start Menu, specify
cmd, and then select Command Prompt.For Mac, select the Launchpad icon in the Dock, specify
Terminalin the search field, then select Terminal.
$ docker tag docker/welcome-to-docker YOUR-USERNAME/welcome-to-docker
Step 4: Push your image to Docker Hub
To push your image to Docker Hub:
- In Docker Desktop, go to the Images tab
- In the Actions column for your image, select the Show image actions icon.
- Select Push to Hub.

Go to
Docker Hub and verify that the list of your repositories now contains YOUR-USERNAME/welcome-to-docker.
Summary
In this walkthrough, you pushed and shared an image on Docker Hub.
Related information:
- Deep dive into the Docker Hub manual
- Learn more about the docker tag command
Next steps
Continue to the language-specific guides to learn how you can use Docker to containerize and develop applications in your favorite language. Choose one of the following guides.