Run multi-container applications
If you've already completed the How do I run a container? walkthrough, you learned that you must start each container individually. Imagine how great it would be if a tool could start multiple containers with a single command. That tool is Docker Compose.
Before you start, get the latest version of Docker Desktop. Docker adds new features regularly and some parts of this guide may work only with the latest version of Docker Desktop.Step 1: Get the sample application
If you have git, you can clone the repository for the sample application. Otherwise, you can download the sample application. Choose one of the following options.
Use the following command in a terminal to clone the sample application repository.
$ git clone https://github.com/docker/multi-container-app
Download the source and extract it.
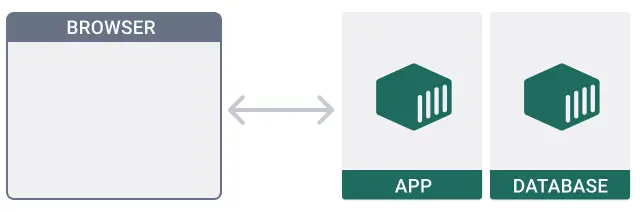
The sample application is a simple todo application built using ExpressJS and Node.js. The application saves all todos in a MongoDB database. You don't need to know any of these technologies to continue with the walkthrough.
Step 2: Dig into the Compose file
View the files of the sample application. Notice that it has a compose.yaml file. This file tells Docker how to run your application. Open the compose.yaml file in a code or text editor to view what it contains.
Step 3: Run the application
To run the multi-container application, open a terminal and run the following commands. Replace /path/to/multi-container-app/ with the path to your application's directory.
Tip
To run Docker commands, you must use a terminal. Based on your operating system, you can open a terminal by doing the following:
For Windows, select the Start Menu, specify
cmd, and then select Command Prompt.For Mac, select the Launchpad icon in the Dock, specify
Terminalin the search field, then select Terminal.
$ cd /path/to/multi-container-app/
$ docker compose up -d
In the previous command, the -d flag tells Docker Compose to run in detached mode.
Step 4: View the frontend and add todos
In the Containers tab of Docker Desktop, you should now have an application stack with two containers running (the todo-app, and todo-database).
To view the frontend:
- In Docker Desktop, expand the application stack in Containers.
- Select the link to port 3000 in the Port(s) column or open http://localhost:3000.
Add some todo tasks in the frontend, and then open http://localhost:3000 in a new browser tab. Notice that the tasks are still visible.
Step 5: Develop in your containers
When developing with Docker, you may need to automatically update and preview your running services as you edit and save your code. You can use Docker Compose Watch for this.
To run Compose Watch and see the real-time changes:
- Open a terminal and run the following commands. Replace
/path/to/multi-container-app/with the path to your application's directory.$ cd /path/to/multi-container-app/$ docker compose watch - Open
app/views/todos.ejsin a text or code editor, then change the text on line 18. - Save the changes in
app/views/todos.ejs. - View your application at http://localhost:3000 to see the changes in real-time.
Step 6: Delete everything and start over
Having your configuration stored in a Compose file has another advantage, you can easily delete everything and start over.
To delete the application stack:
- Open the Containers tab of Docker Desktop
- Select the Delete icon next to your application stack.

After you delete the application stack, follow the steps from Step 3: Run the application to run the application again. Note that when you delete the containers and run them again, any todos that you created don't persist.
Summary
In this walkthrough, you ran a multi-container application with Docker Compose. You also learned how to develop in containers and how to delete the application stack along with all of the data.
Related information:
- Deep dive into the Docker Compose manual
- Reference Compose commands in the Docker Compose CLI reference
- Explore samples in the Awesome Compose GitHub repository
- Learn how to implement Compose Watch for your projects in Use Compose Watch
Next steps
Continue to the next walkthrough to learn how to persist data even after deleting the application stack.